Monday, January 27, 2014

Hide-n-Seek Hair Extensions

Extensions can be a b!tch to get right sometimes, especially if you have very light or thin hair. Here are a few pointers/reminders for getting those suckers to look more natural and blend better.

The Goods:

 
You will need hairspray, clips to section your hair, a teasing comb, a curling iron, bobby pins, and extensions (real human hair only)

The Model:

Ronda has light blonde hair. It is fine but it's not what you would call thin. For her wedding in San Juan this March she wants to add extensions.

The Mission: Hide the extensions!

First you want to section your hair, If your hair is shoulder length like Ronda's you will want to section it into 3rds. If you have a lot of hair you may have to section it up to 6 times. For example: 2 on each side and 2 in the middle. Most girls/women are fine with 3 sections: top layer, middle layer, bottom layer. You may then start clipping in the extensions. As you can see in the above picture (pre-curled/pre-teased) you can see both where the extension tracks are as well as where her real hair ends. (Thanks for the hand modeling, Dad J )

Next, you want to brush through your hair, making the extensions blend together, section it again, and start curling your hair with the extensions in. Curling your hair with the extensions helps blend the ends together. By doing this you are hiding where your actual hair ends.

After you’re all curled you want to take the top section of hair and tease, tease, tease! You can get a teasing brush at your local Sally's Beauty Supply store. Your hair probably looks a bit weird right now so you want to smooth the top over the bird’s nest you just created. You don't want to get rid of the nest; you just want to hide it. Once you've smoothed some hair over your birds nest/rats nest, whatever you want to call it, you want to secure with your bobby pins.

& Wa-laa: Your final product should look similar to this!!


Friday, January 24, 2014

Favorite Brushes!!

This post is for Abbie!!!

Abbie recently asked me if there are any brushes that I cannot live without and here are my favorites!!!!


From left to right:

1. Lancome's Shadow blending brush. As youtubers call it "fluffy brush" this is the perfect blush to blend your eyeshadow like a master! #17
2. Lancome's Powder brush because it is big and AWESOME! #1
3. Mac Foundation brush #190 Its a staple for anyone's makeup bag and it does not have to be MAC I like Lancome's foundation brush just as much.
4. This brush my boyfriend bought for me and it was recommended by another MAC artist. I LOVE this brush I use it for concealer, primer, sometimes even shadow. It is such a versatile brush it is MAC's large shader brush #252
5. MAC Small angle brush #263 I strongly feel that this is another staple to have for makeup brushes. This is my number one favorite brow brush ever. I have tried other brands but I really like MAC's
6. MAC Large angled contour brush #168 this one is another multi use for me. I use this for blush, contouring, and highlighting. It may not be supposed to be for all of the above, but that's what I use it for :)
7. MAC Flat definer brush #212 I use this for all types of tricks such as cut creases and wings. This is a fun brush to have

The only reason why the first two brushes are not MAC is because I have had bad experience with these two as MAC brushes. I find that the MAC ones shed, which I hate.

Next is honestly the most awesome eye kit ever! Its Sigma's Performance eye kit! This kit is amazing and worth every cent of the $75.00 that it cost. Click the picture for more info on each brush that comes in the kit!
http://www.sigmabeauty.com/Performance_Eyes_Kit_p/pe01.htm


Monday, January 20, 2014

Best Face Forward

Linkedin is a fantastic networking tool especially for people that are in any kind of sales business. With that being said, it is very important to put your best face forward. You want to look professional, you want to look like someone that others would want to do business with.

There are a few key elements for getting your best headshot for your professional profile:

You need good lighting.
A blank wall to take it infront of.

Professional attire.

A clean look; A fresh face is important you don't want to look overdone. Accentuate your best features.
If you want to add flare or something to catch prospective clients eye, throw in a red lip!
 
Also! Don't forget to have an awesome best friend to snap the pic for you! (Preferably the coolest best friend you can find! ha ha) Selfies are great for instagram and facebook but lets keep your LinkedIn as professional as possible.
 
Lastly treat that awesome friend with something delicious to thank her! This is a very important step!
OH! & Don't forget to text her and tell her how fabulous she is and how much you love her :)

Monday, January 13, 2014

Subtle Yet Stunning

 
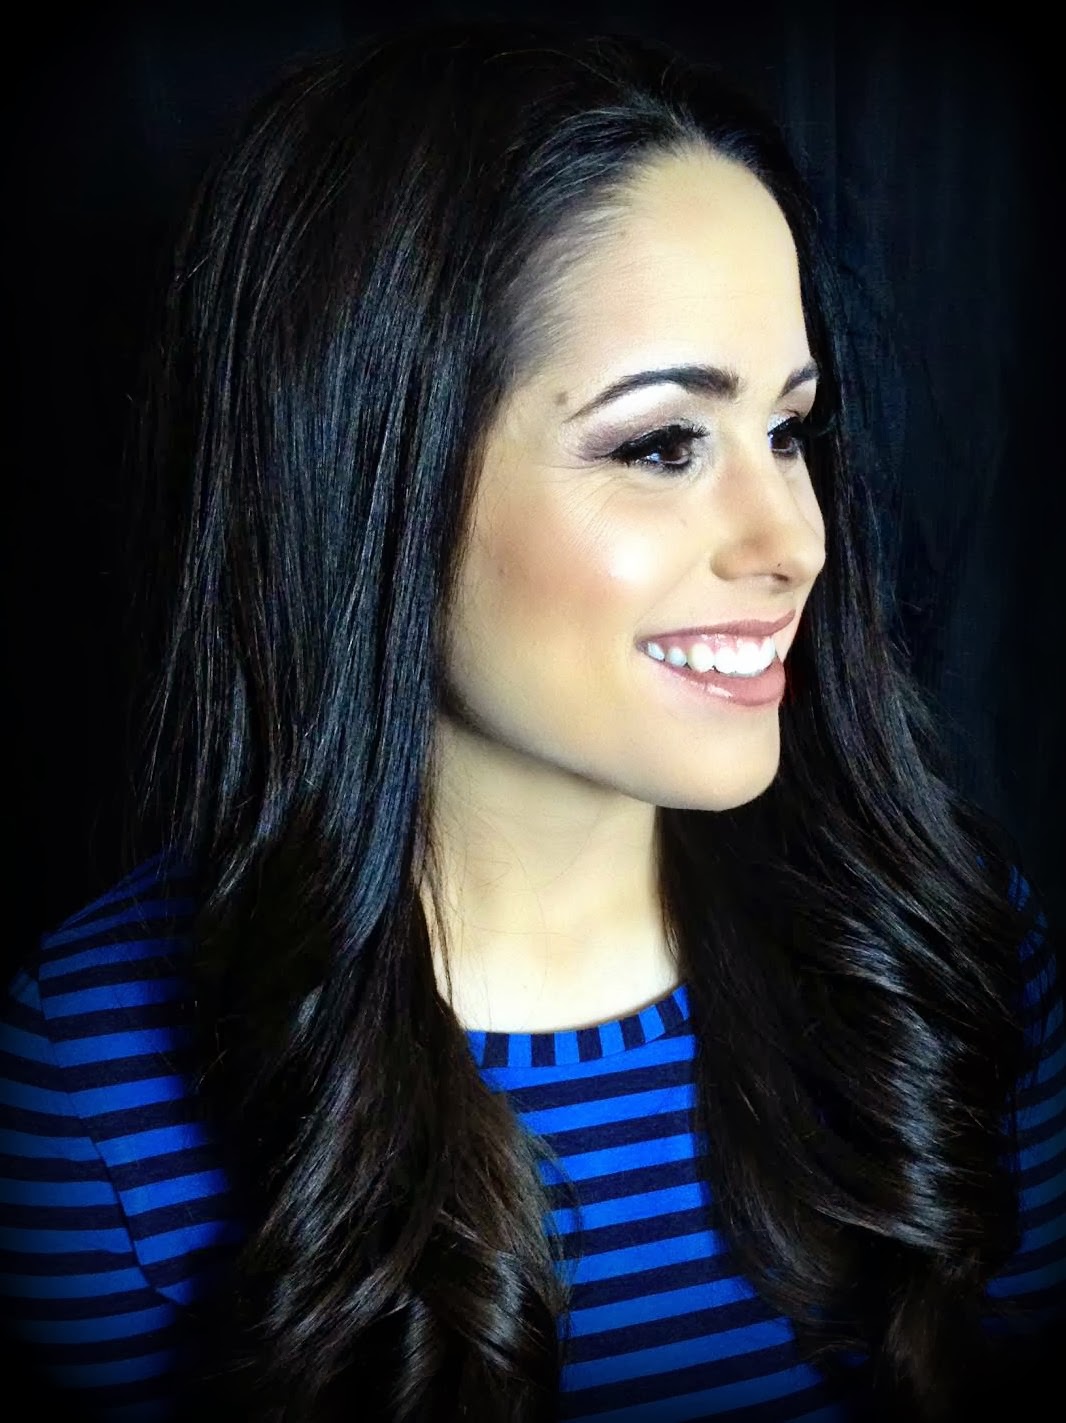
Sometimes a little bit of the right makeup goes a long way! We kept it simple for this weekends bridal trail, adding flare where necessary. We optimized this bride to be's glow with MAC Soft and Gentle Mineralize skinfinish Paired with MAC's Melba Blush M·A·C Powder Blush in melba
On the lips she has Urban Decay's 24/7 Glide on lip pencil in Liar Paired with MAC Blankety MAC Blankety. Another good nude lipstick, but w/a little hint of pink <3for the perfect natural pout. Her face has Kat Von D's Lock it foundation with a quick blow over with Dinair airbrush. Her lashes are Red Cherry, and her eye look was created with Kat Von D's True Romance Eyeshadow Palette in Saint. (My bridal go-to!)